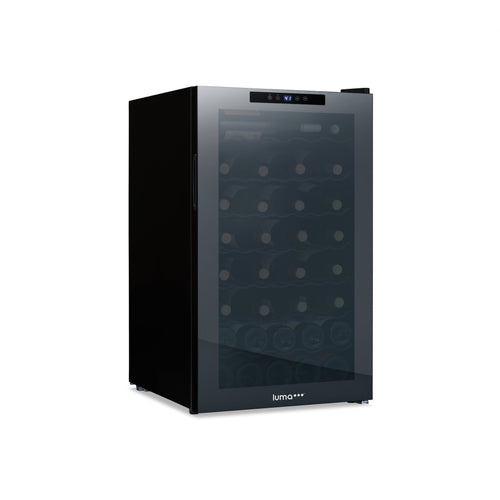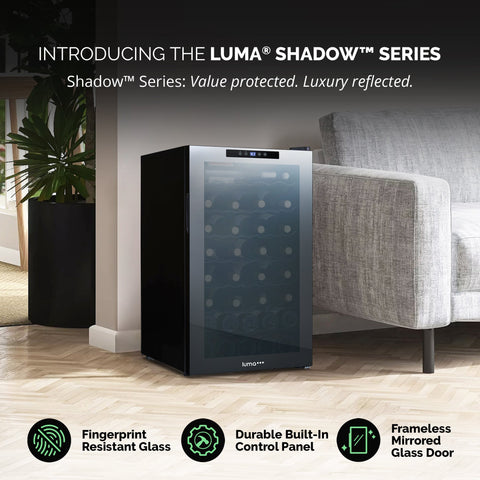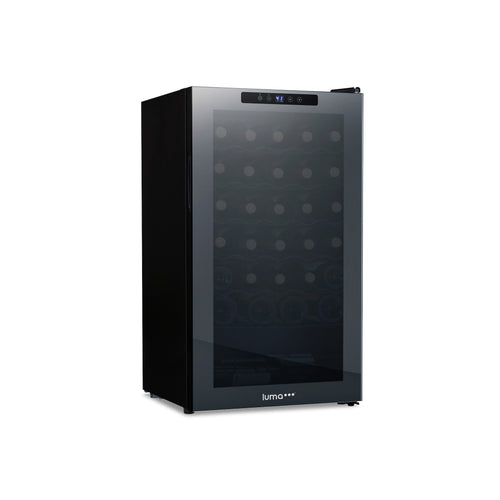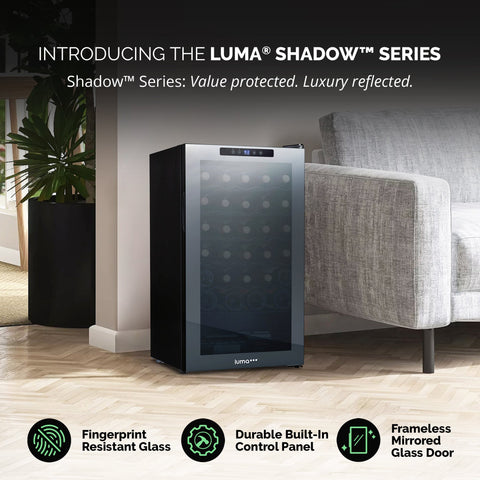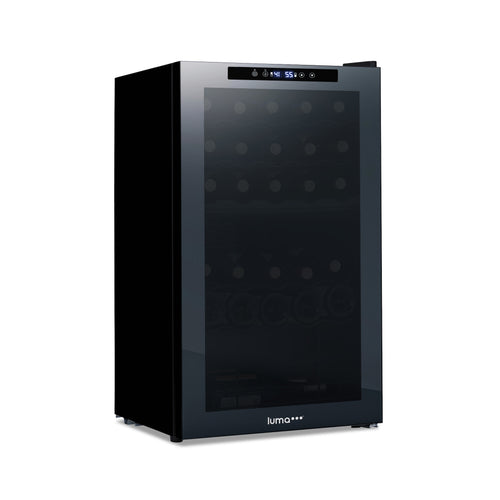

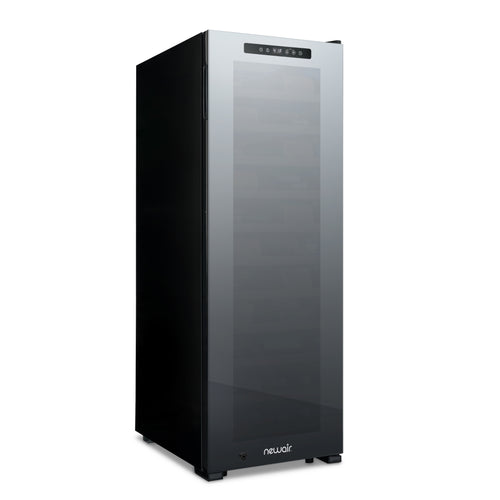

- Wine Refrigerators
- Beverage Fridges
- Cigar Humidors
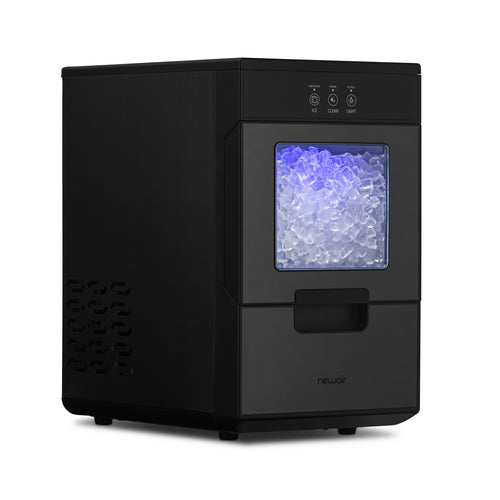
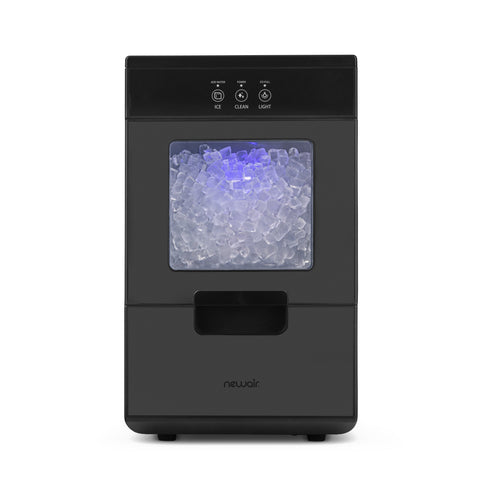
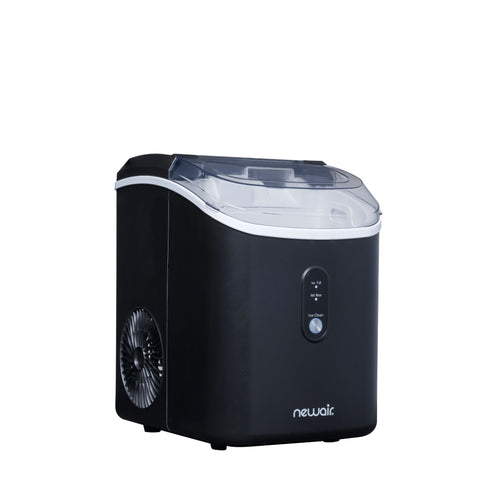
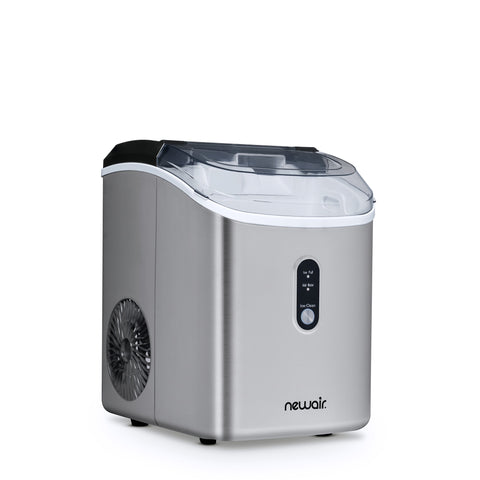
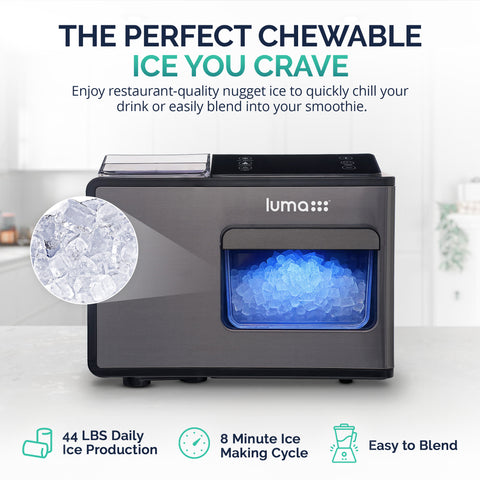
- Ice Maker
- Portable Cooling
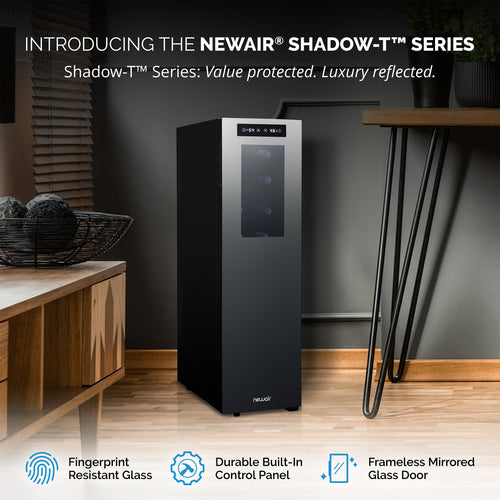
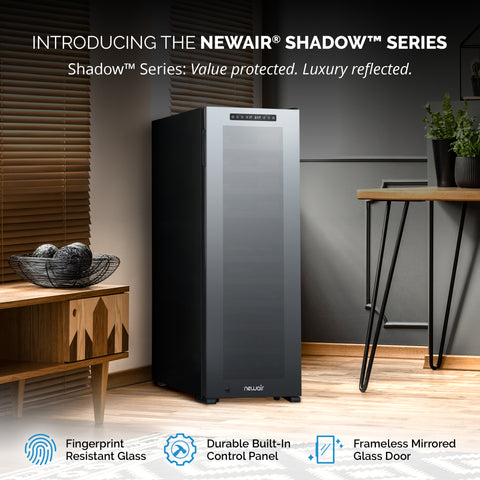
Wine Refrigerators
Your Guide to Everything Wine Cooler
Whether you're a long-term wine lover or are just beginning to develop your palate, proper wine storage is essential for getting the most enjoyment out of each bottle. Whether you choose a built-in wine cooler for your kitchen or a freestanding wine fridge for a dedicated wine cellar, adding a wine refrigerator to your home is the best way to ensure that your wine stays fresh and ages perfectly. You'll also be able to effortless serve your wine at the ideal temperature to maximize flavor.
Read More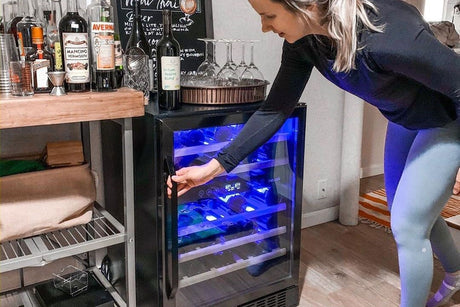
Wine Coolers: Single-Zone vs Dual Zone
Temperature determines how quickly a wine matures and how well balanced its flavors are. Chill a bottle of wine too long or leave it out in the hot sun for a couple of hours and you'll end up with an undrinkable mess. That's why wine makers spend so much time on climate-controlled wine cellars and why wine drinks spend so much money on wine coolers. Wine coolers are small refrigerators designed to keep wine perfectly chilled until it's ready to drink. There are several variations, but the most common are single zone wine coolers and dual zone wine coolers.
Read More
Choose the Right Wine Cooler Temperature for Every Type of Wine
Wine might just be the new “in” drink. In fact, recent increases in sales show that it’s become hugely popular, especially with younger consumers. This might have something to do with the way those great big wine glasses you see everywhere encourage people to enjoy a bigger pour, but it’s more likely that today’s foodies have come to realize what generations of gourmands have always known: Everything tastes better with the right glass of wine.
Read MoreBeverage Fridges

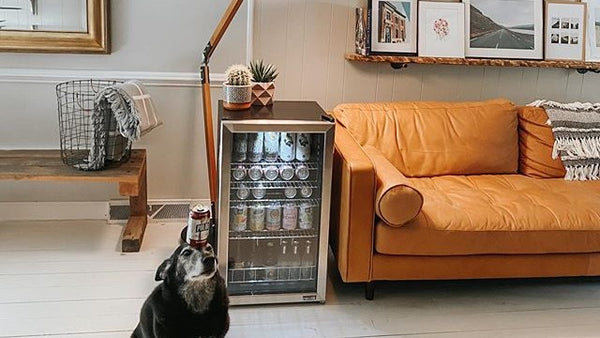
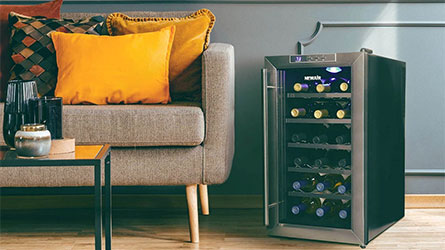
The Ultimate Beverage Fridge Buying Guide
No matter what you enjoy to drink—beer, wine, soda—a beverage fridge guarantees you always have your favorite can (or bottle) in hand. It is also practical. A beverage fridge makes hosting a party easier, frees up precious storage space in your main fridge, and makes a statement in your home. Plus, the temperature and storage of each beverage matters. The right degree brings out the full flavor of each drink, while correct storage keeps tastes intact.
Read More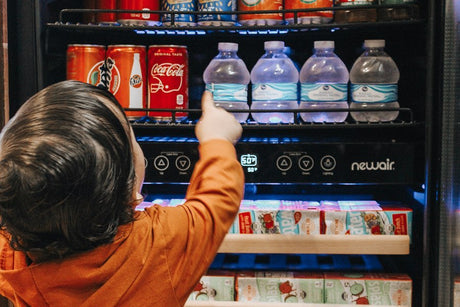
Beverage Coolers Vs. the Mini Fridge
Whether you’re hosting the ultimate backyard bash or a sports party in your man cave, ice-cold beverages are essential for any entertaining event. When looking at drink coolers for sale, many folks find themselves contemplating whether to purchase a mini fridge or beverage cooler. While the two options might appear to be similar, they are engineered to meet different criteria. So what device is perfectly equipped to keep your soda, juice, wine, or beer at the ideal temperature? If you’re wondering which to purchase, we have the answers to ensure you have a stash of crisp, cold drinks for your next big event.
Read More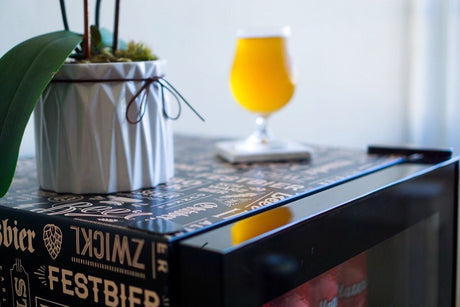
How to Frost Beer Mugs
The summer heat may be winding down, but that doesn’t mean you need to shelve your beer and resort to just dreaming of poolside relaxation with a chilled beer. Beer lovers know that beer is perfect for drinking year-round; you can drink it chilled or at room temperature, and you certainly don’t need to change your style with the change of season. Now, what about frosted mugs for your beer? How can you achieve that icy cool look without dishing out tons of cash for a commercial glass froster? And just what types of beer should you drink this way anyway? It’s time to find out.
Read MoreCigar Humidors

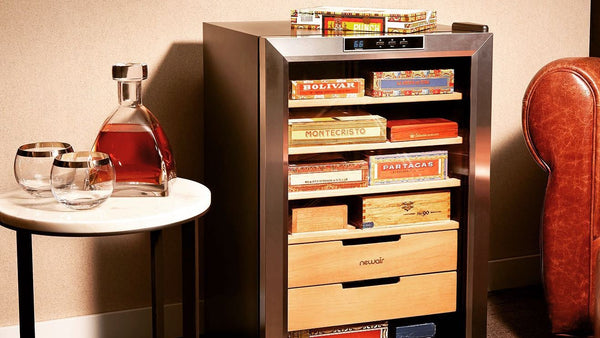
Your Guide to Everything Cigar Humidor
If you plan to store your cigars for longer than a day or two, you'll need a humidor. Humidors can be as simple as a wooden box or as complex as a refrigerator, and there are several factors to consider as you shop. This cigar humidor buying guide will walk your through the basics, including the main types of humidors, their major features, and how to season and maintain your humidor once you've made your choice.
Read More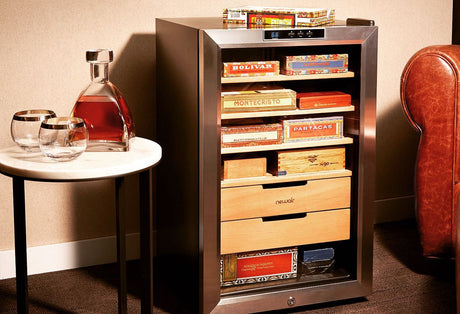
Everything You Need to Know About How Humidors Work
If you have even a passing interest in owning cigars, it won’t be long before you need to think about cigar storage. Cigars require very specific temperature and moisture levels in order to keep them fresh for long-term storage, and you won’t be able to keep them at the right humidity without a humidification device. When it comes to your cigar collection, this handy machine is called a humidor, and it’s a must-have to store cigars for longer than two weeks or so.
Read More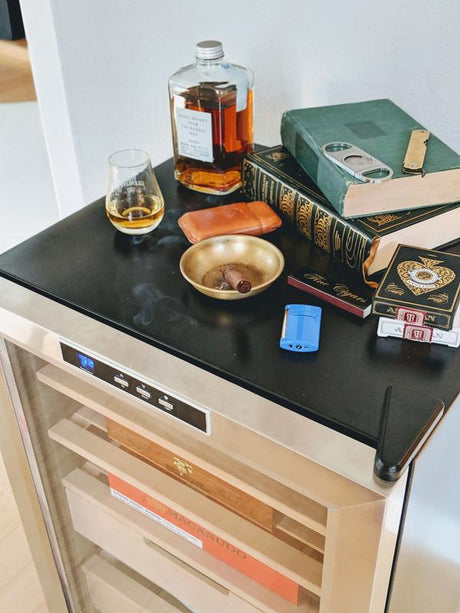
How to Keep Your Humidor at 70 Degrees
The challenge of temperature control is also different depending on where in the USA you live, too. It’s a big country with climates of high humidity and desert dryness as well as extreme heat and cold at any given time of year. But don’t worry! You can keep your cigar humidor under ideal conditions with some close attention and a willingness to experiment.
Read MoreIce Maker
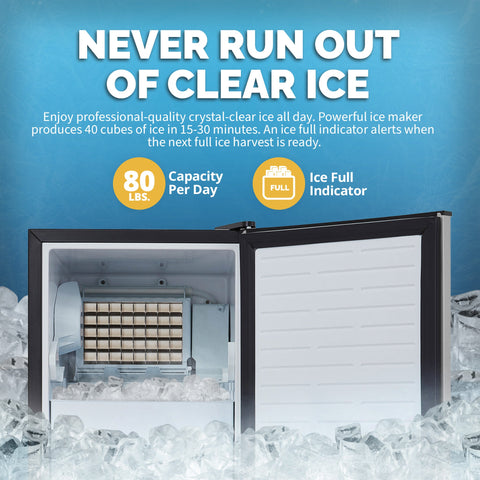
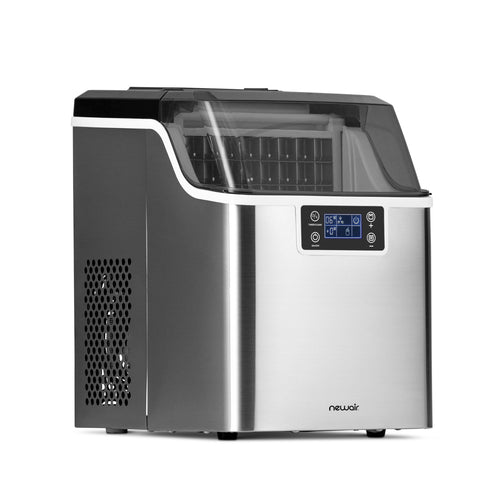
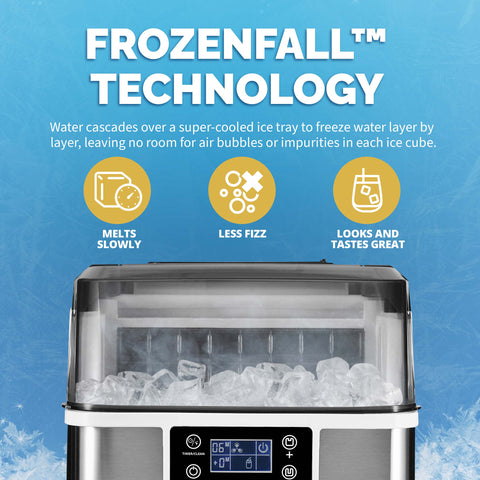
A Beginners Guide to Making Clear Ice
Lately, fancy cocktail bars and restaurants have been upping their game and making sure that cocktails are served with clear ice that allows you to enjoy the look of the drink without it being marred by some cloudy white bits. Clear ice doesn’t just look better — it also works better. It melts more slowly, which keeps drinks from getting watered down before you can enjoy it. For gourmands and craft cocktail enthusiasts, clear ice is a win-win.
Read More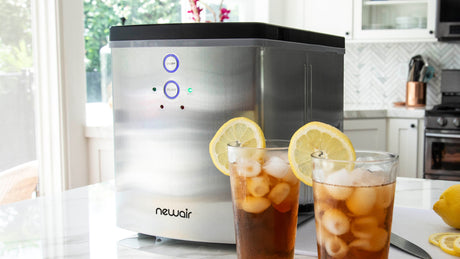
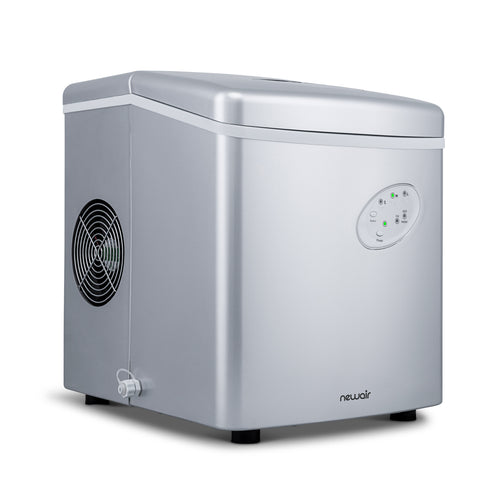
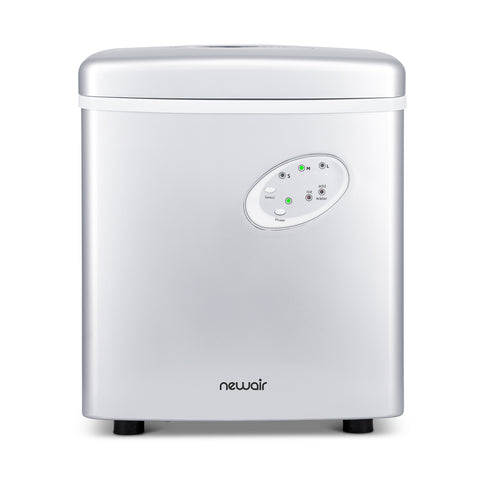
10 Reasons You Need a Countertop Ice Maker
When you’re outfitting your kitchen with the perfect suite of appliances, it can be easy to forget it’s often the smaller ones that really add to your quality of life. After all, you’ll always have an oven and fridge, but a specialty appliance can take an additional task off your hands and inject a big dose of convenience into your life. A countertop ice maker is just such an appliance. The best portable ice maker has just one job to do, and you might be surprised at just how much you need one — even if you’ve never thought of owning one before.
Read More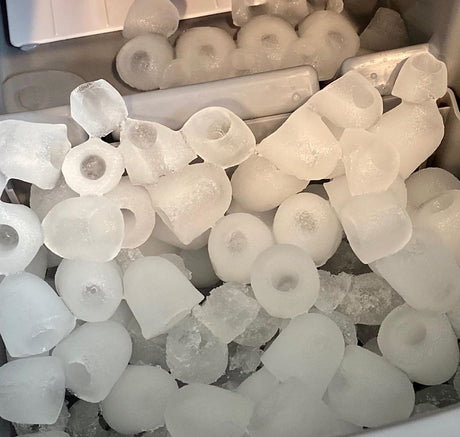
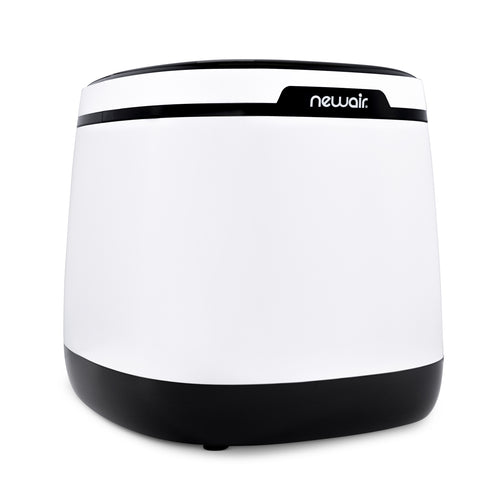
Clear Ice vs. White Ice: A Showdown
If you’re thinking that the only difference between clear ice and cloudy ice is the way it looks, think again! The cloudy appearance of some ice cubes is actually an indication that tiny air bubbles were trapped during the freezing process. These tiny bubbles affect more that than just the look of the ice, though.
Read MorePortable Cooling

Evaporative Cooler or Air Conditioner?
It is always a shock: the weather goes from a decent temperature to boiling in what seems like mere hours, causing you to scramble for cooling options. Sitting in a hot apartment or house gets old fast, even if you have a few box fans at work or can hide out in a cool basement, you are still uncomfortable and hot.
Read More
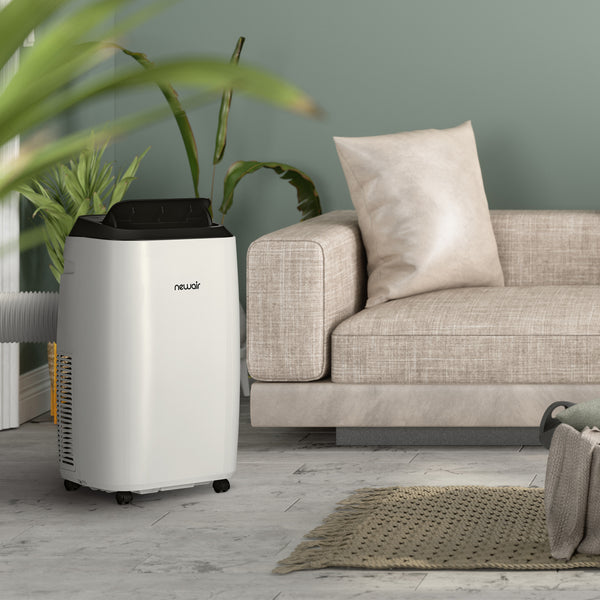
Everything You Need to Know: Portable Air Conditioner Quick Guide
A portable AC unit is a small mobile air conditioner, unlike a window AC or split AC, but without any permanent installation required. All of our portable air conditioners are between 29" and 34" tall and weigh between 65 and 80 pounds.
Read More
How to Stay Cool in the Summer: Misting Fan Review
As thermostats edge up to “broil” across the country, people head indoors to hide from the hot air. Blackout curtains are drawn, and you barely venture out except to walk from air conditioning in the house to the air conditioned car. Are you tired of burrowing through the hottest part of the year like a mole person, doing only indoor activities in an attempt to escape the summer heat?
Read More